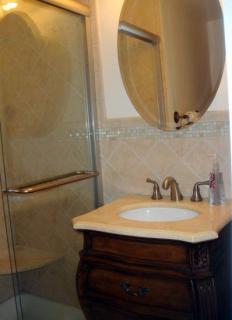
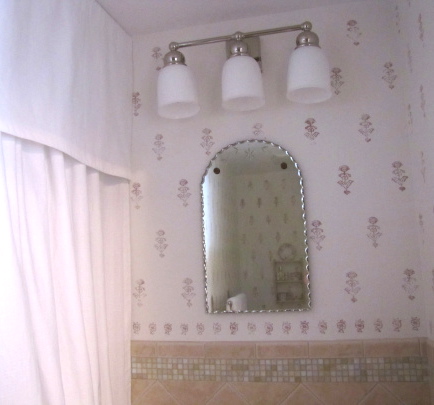
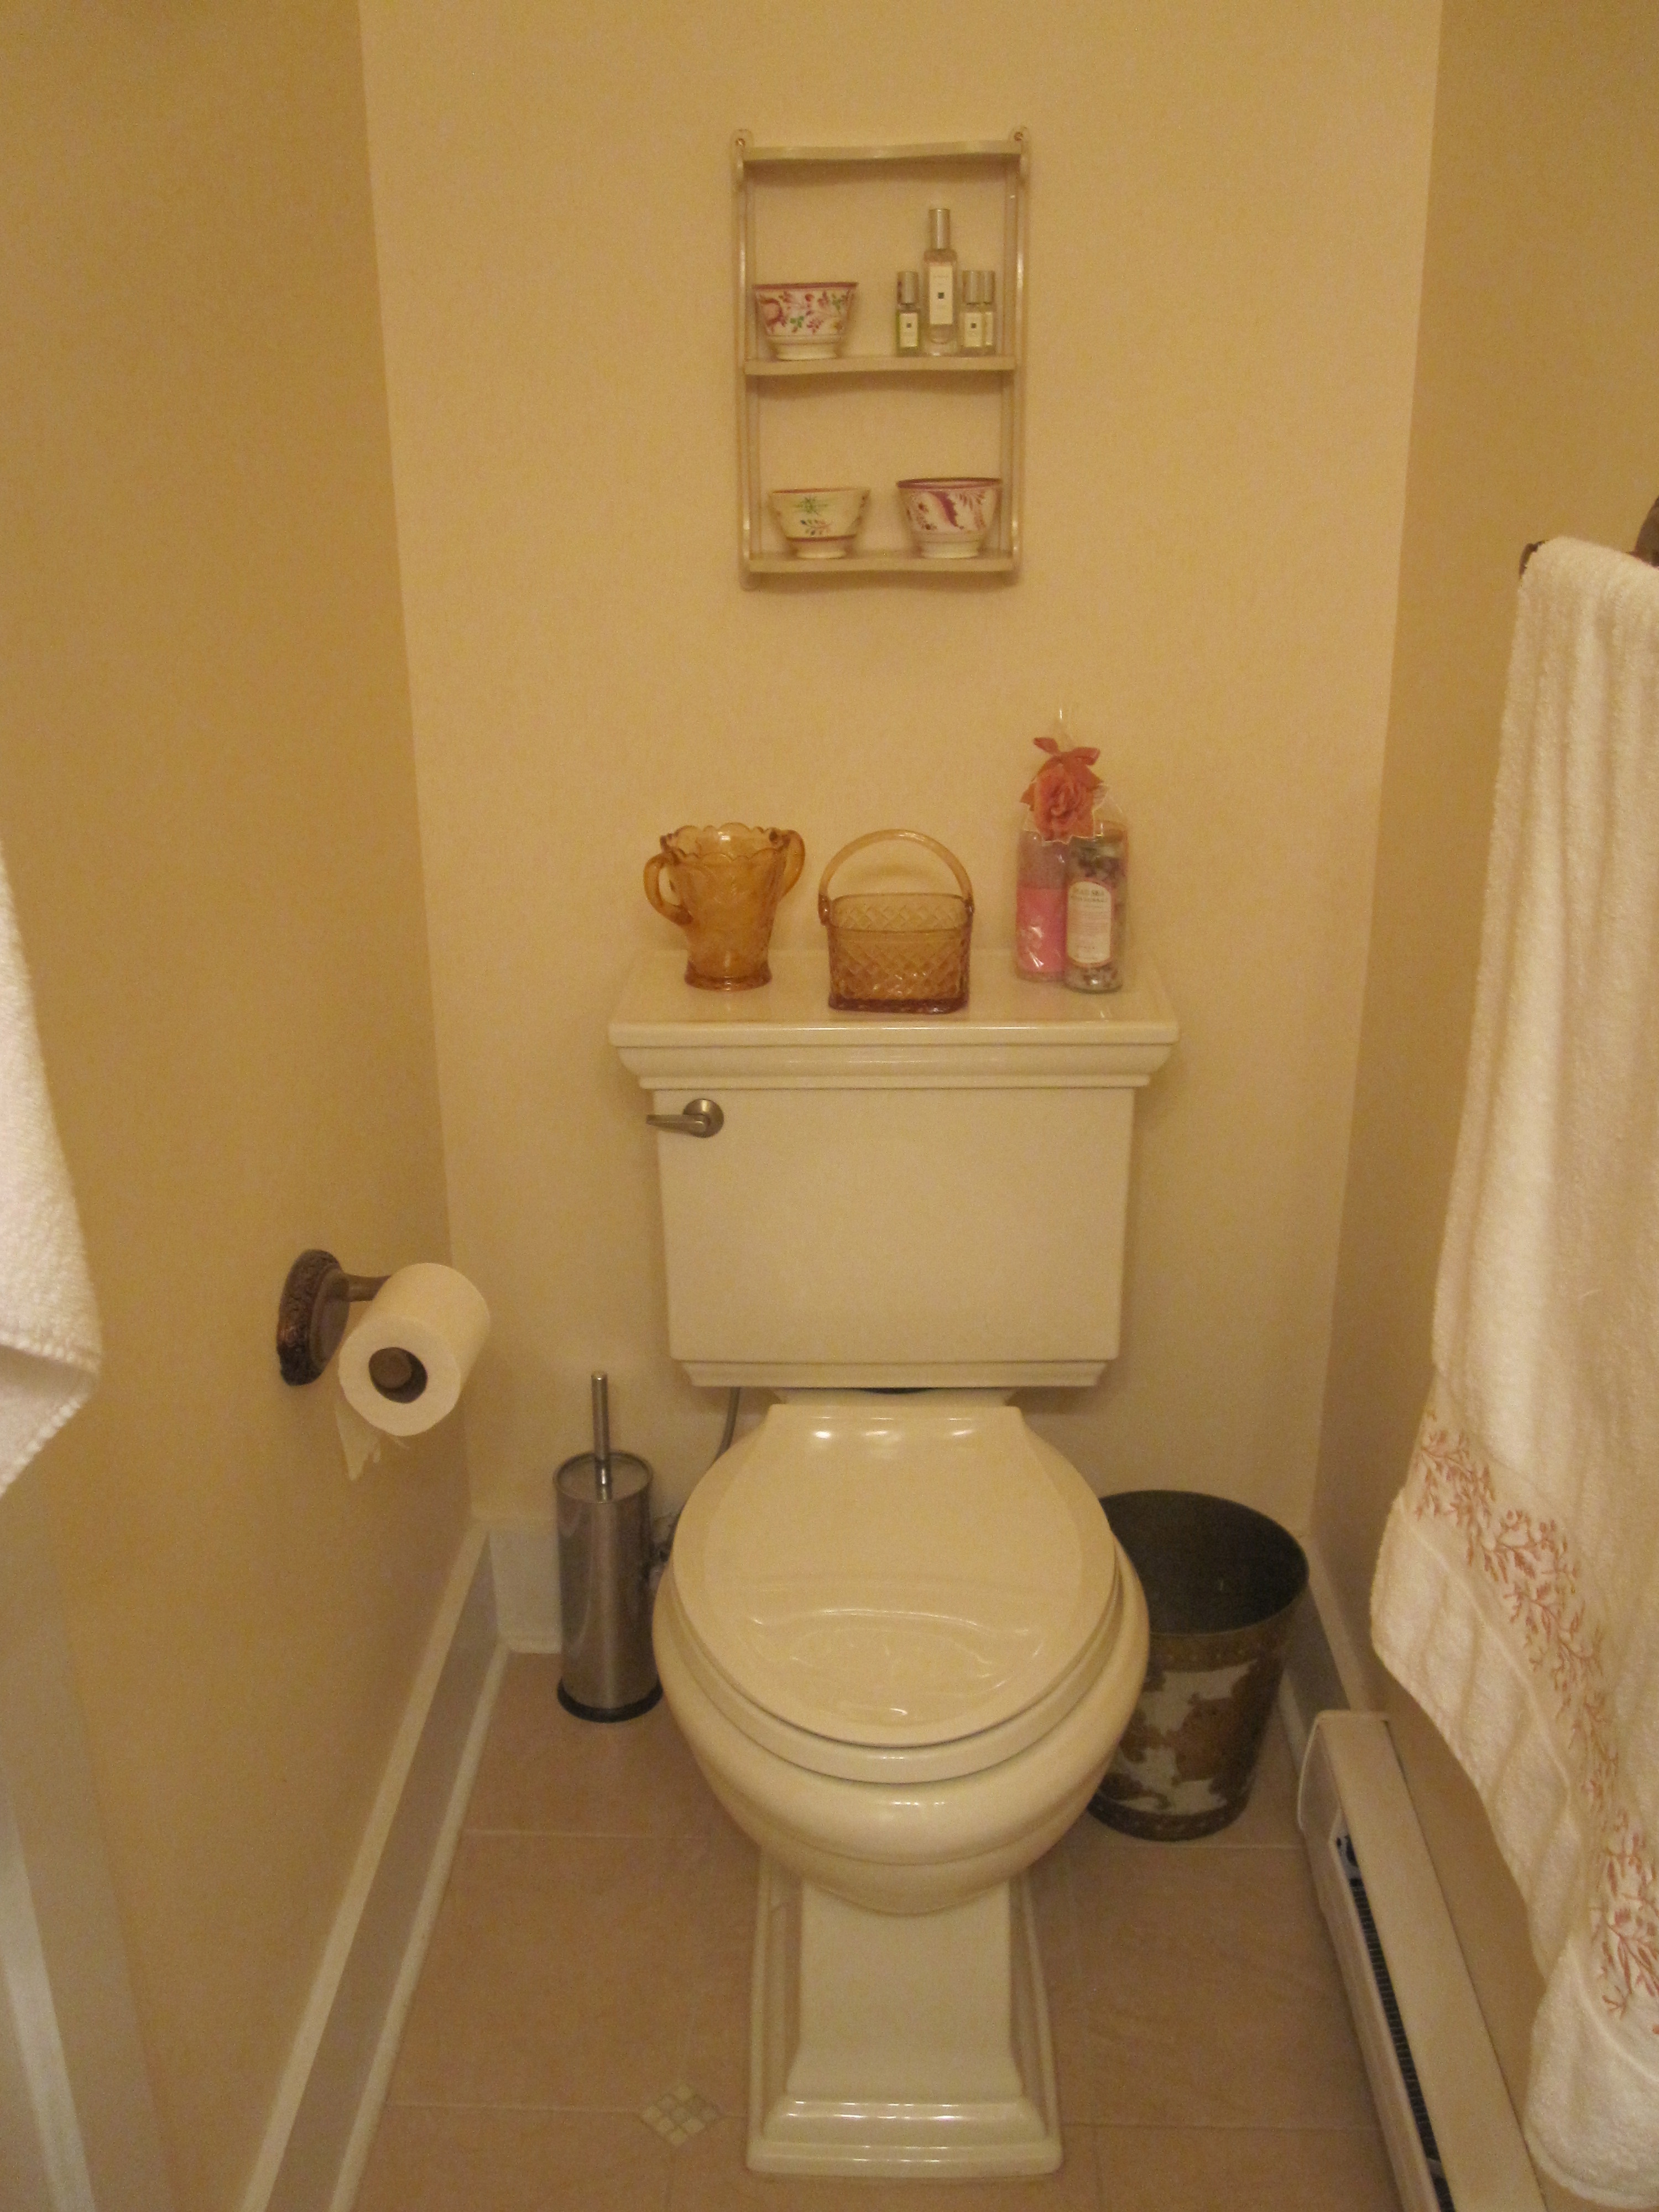
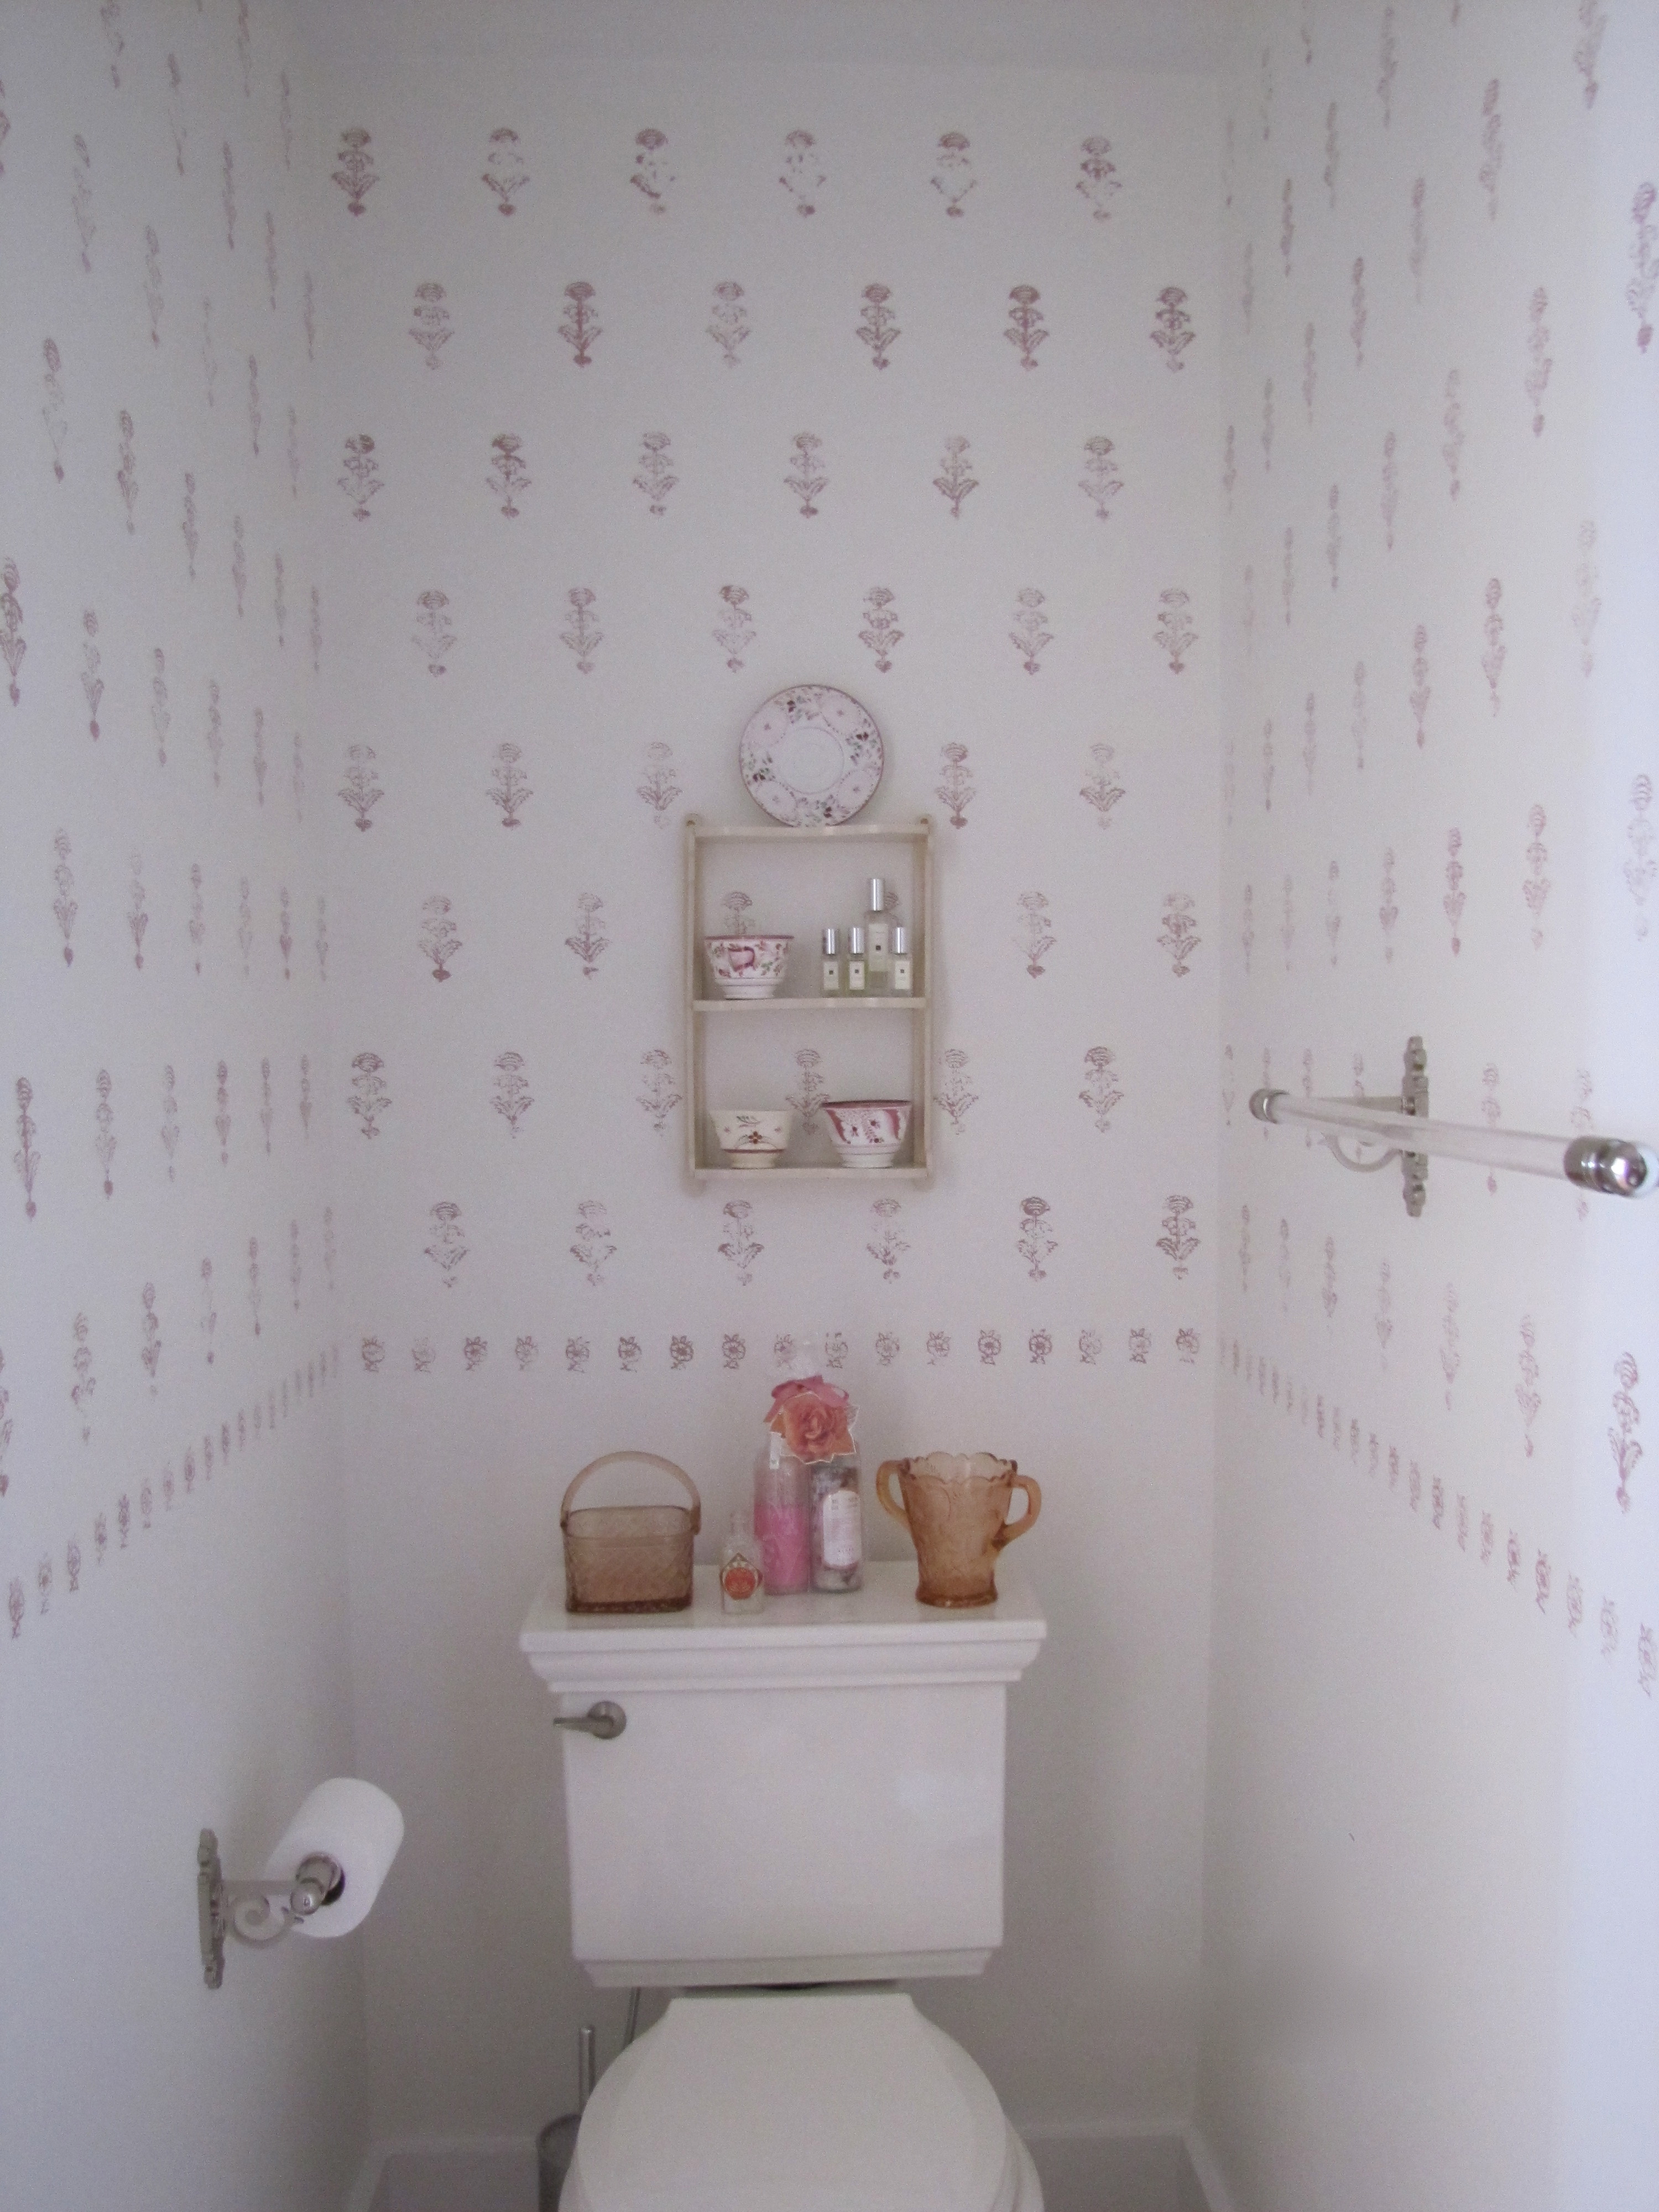
…and this to this, for almost no money and a just lot of sweat equity, including me personally hand stamping an Indian block print for what felt like a million times.
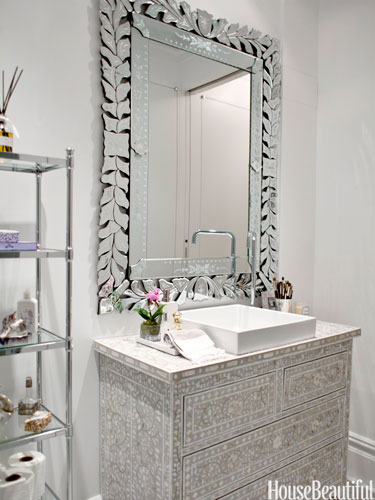
The thing that didn’t get finished and thus does not appear in the photos is the vanity which was not changed out. One of the choices I was really interested in was using some kind of mother of pearl or bone inlaid chest or table as the sink vanity. It was complicated, because I couldn’t find one the right height or size and many were absolute budget busters anyway. After I left at the end of the summer, it went on the back burner, but still simmered all year. Well, in this month’s House Beautiful, Rebecca Minkoff did just what I was talking about, converting an inlaid dresser to a vanity by adding a sink. It got me to thinking…
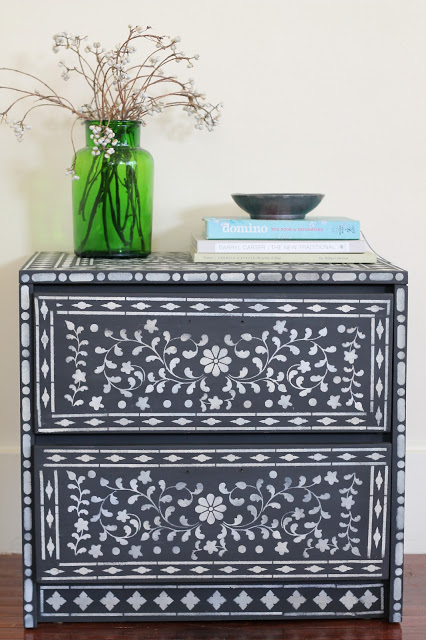
A number of favorite bloggers – all master DIYers, though, unlike me – have painted the most extraordinary trompe l’oeil inlaid pieces lately using either stencil kits or in some cases painting free hand. Camille at The Vintique Object painted and stencilled this small chest after practicing on a small stool first. She used a stencil kit from Cutting Edge Stencils, designed by Kim Myles, who also has a great how-to on her blog. Would you ever believe this piece wasn’t actually inlaid?
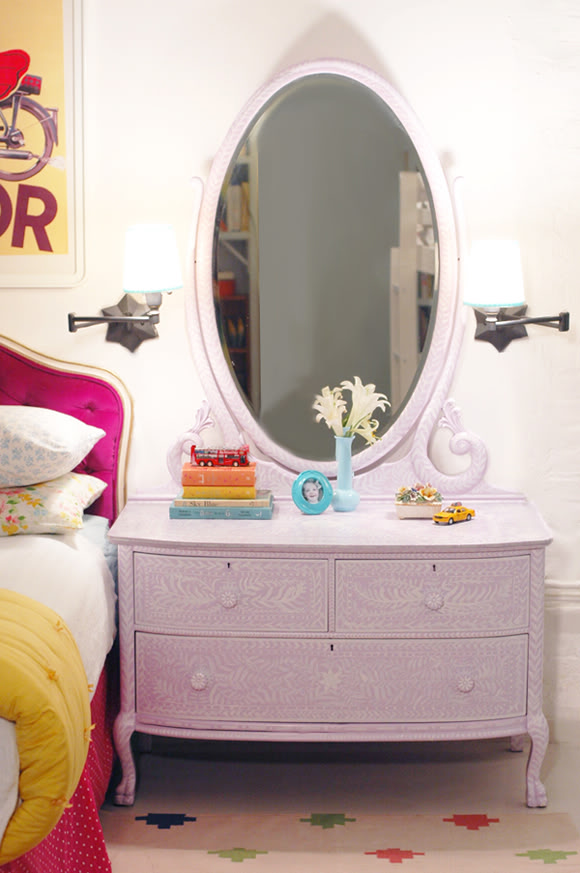
Jenny over at Little Green Notebook free-hand painted this dresser for her girls room. It has a more relaxed look, but still that great Moroccan vibe. Visually, she used the same technique, with scrolling floral pattern inside borders.
Marian at Miss Mustard Seed goes even more free form with this hand painted art deco era dresser (you would never believe the before photo!). If she can convert that dresser, then I have to be able to do something with my vanity!
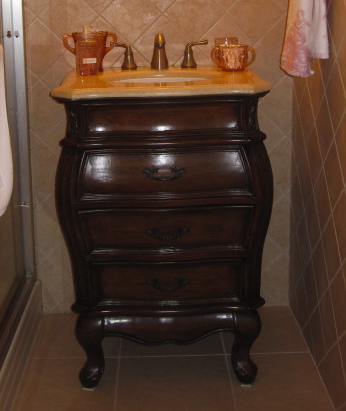
So I am wondering if I might accomplish a few things at once if I try this on my vanity. One, I won’t have to look at its ugliness anymore until I find the right thing to change it to, and two, I can check out and “practice” having an inlaid piece in the space to see if it is worth the splurge to get a real one. Now, mine has more of a bombé shape, but I am thinking there is potential!
What say you all?
Master Bathroom Related Posts:
Renovation Report…The Finished Master Bathroom (Almost)
Renovation Report…Vanity Dreams or Vanity Reality?
Renovation Report and a DIY…Using Indian Wood Blocks to Create “Wallpaper” in the Master Bath
Renovation Report…Do You Throw Good Money After Bad? Thoughts on Fixing My Master Bathroom
A Day Too Late…One Perfect Bathroom Photo
Renovation Report…Pocket Door Progress


I think would be a great way to see if you like the look and live with it before a splurge on a real statement piece. My only DIY advice would be to do a lighter base coat as opposed to something dark like Camille’s. I think it gives you a much larger margin for error with the white paint. Does that make sense? Now I know you, and know you’re probably obsessing already on color choices because of the tile, LOL!
I am thinking of a taupey grey for the base color – I think that would pick up the color in the grout and the small iridescent tiles. I definitely don’t want dark as one of the goals is to make the dark space lighter anyway! Now should I choose a more rigid stencil design or go free hand?
________________________________
Go for it; after your success with the “wallpaper” I have no doubts that it will look fab!
I loathe stencils, so personally I vote for freehand. There’s more room to “fudge” something if you need to as opposed to feeling a need for precision, symmetry and accuracy with a stencil. Freehand also gives more of that handmade, “found in a shop” vibe.
I think your vanity has lovely curves and charm – you should definitely do it. However; stencils or freehand? Guess it depends what you are going for. Stencils will ensure everything is symmetric and consistent, I have bought two or three groups of stencils and taped them side by side using stencil tape and then I am able to work pretty fast. Is also easier to blend in a second or third color if you want to add different dimensions… freehand – lots of detail work can be hard – but then I am not great at “free handing” patterns so I am biased. Hope that you will post the result! I think its going to look fantastic!
I suspect stencils might be difficult on a piece of curved wood. I vote for freehand.
What about a seashell motif? (Too predictable for the seashore?) or pick up elements from the pattern you used in the wall stencil.
These are great ideas and may have given me some inspiration for a few tired old dressers at my beach house.
go for it! i was so impressed with the green notebook freehand video. wish i could do things like that. but i’m sure you can!